In The Name Of Allah, The Greatest, The Creator
Salam & hi to all,
i am in the mood of holding my electrical home improvement tools! haha..
to those who want to decorate their empty looking wall with something easy and cheap, lets try this.
there are 3 procedures involved, they are :-
1. PREPARING THE WALL
2. PREPARING THE PICTURE
3. PREPARING THE FRAME
For the WALL, you are going to need :-
 |
| glass tightener/frame holder |
 |
| each of the glass tightener consists of 2 silicon ring, cap with screw and the housing |
 |
| help me, i dont know what its called :( but i know how to use it |
.jpg) |
| 4 wall plucks, i used plastic ones. 4 screw nails (about 1.5 inches) |
For the PICTURE, you are going to need :-
 |
| cutting blades. one is enough. |
 |
any picture (in my case, i chose one Islamic calligraphy with the meaning "THERE IS NO GOD BUT ALLAH
AND MUHAMMAD IS HIS MESSENGER" to be reproduced |
 |
a roll of sticker, to whatever design or color you like (the size depends on the frame's size).
if you decide to use a ready made picture, such as a scenery picture, then omit this sticker.
|
For the GLASS FRAME, you are going to need :-
 |
2 pieces of clear glass, with 5mm of thickness. the size? up to you. why 2 pieces? you will know why later.
make sure you ask the glass supplier to make 4 holes at each of the edges. some prefer archelic instead of glass (looks like crystal clear plastic, i am not sure of the spelling though)
PREPARING THE WALL |
 |
| for the wall, i chose the part which has wires of electric jotting out. actually there was a decorative lamp on the wall, but i didnt like it. i got another idea how not to waste it. |
 |
see? ( the whiteboard in the picture is made of tempered glass).
 |
measure the 'straightness' using the yellow tool. (dont ask me the name haha!)
 |
how is it functioning? just look at the bubble. if its in the middle, means the frame is stable and centralized
 |
mark the places to drill.
 |
drill the wall at the marked place, and insert the wall pluck
 |
nail the housing of the frame holder with a screw nail (4 places)
 |
like this. leave it for a while
PREPARING THE PICTURE
 |
a sticker consists of a glued plastic sticker, and a paper to cover it.
 |
based on the sample arabic calligraphy shown above, i copied it onto the back of the sticker. why? because it has scale lines that ease me to estimate my drawing. (i used my free hand to imitate it)
 |
but the part of paper with scale lines is actually just the cover, not the sticker itself. so i have to draw it reversely. how to do it without much mistake? i made my own light table, just like the draftsmen table :p
 |
see?
 |
up side down, but just wait, you'l see the result later
PREPARING THE GLASS FRAME
 |
clean the surface of one the glass thoroughly. you can use any multipurpose cleaner, or vinegar.
 |
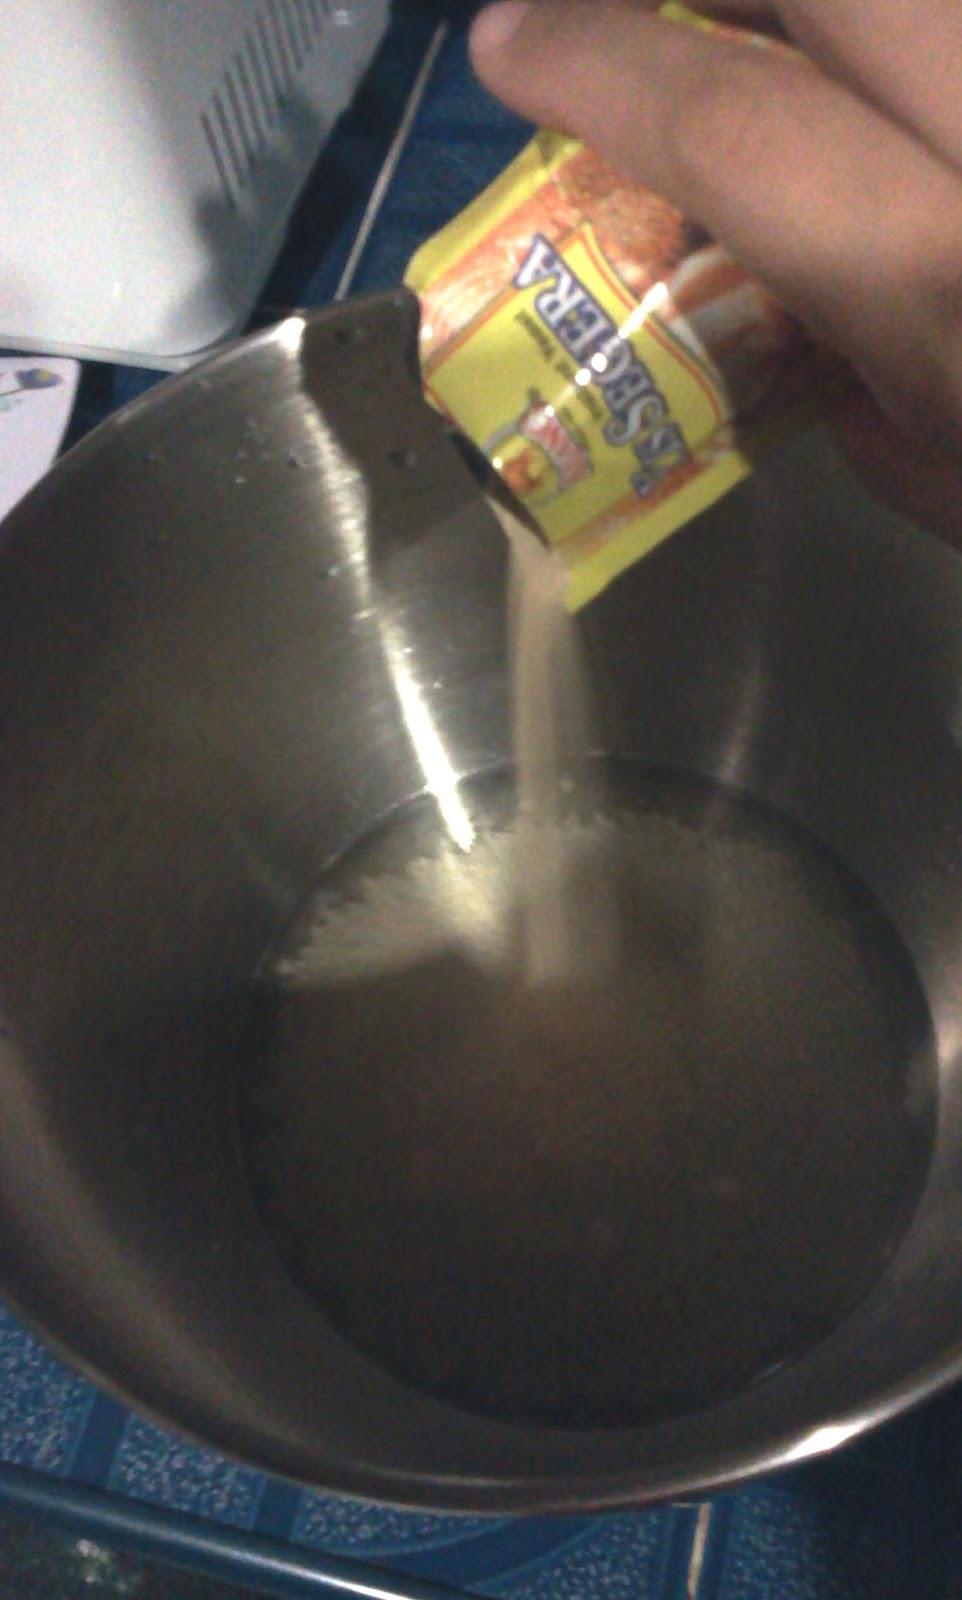
spray some detergent diluted in water as shown in the picture
 |
see? why is this soapy surface is required? good question :)
 |
separate the sticker part and its cover
 |
put on the soapy surface. without the soapy condition, its hard to put the sticker evenly
 |
eliminate the bubble using a ruler
 |
once the sticker sticks well, cut out the unwanted parts of the letters
.jpg) |
pull it out gently
 |
from front
.jpg) |
from behind. did you notice that actually the sticker suppose to be in between 2 pieces of glasses?
 |
then we need to cover it with another piece of glass
PUTTING THE FRAME UP ON THE WALL
 |
lift both glasses carefully and tighten all the 4 screw nails to hold the frame
 |
WALLA! i think it'l look brighter and more beautiful once i put on the wall lights behind it :)
i know its tedious, but it worth the time doing it :) |
|
|
|
|
|
|
|
|
|
|
|
|
|
|
|
|
|
|
|
|
|
|
|
|


.jpg)


.jpg)

.jpg)


