Thursday, August 25, 2011

How To Produce Cold Pressed Avocado Oil At Home

Salam & hi to all,

to avocado oil lovers who have avo tress at home and want to extract 100% pure, uncooked avocado oil..

you are going to need :-
4 ripe avocados. some were still good and some, as you can see were half rotten
2 spoons or a pair of chopsticks if you have!
a plate (made of alloy, or steel)

or you can use a stainless steel tray (i got this recently)

small cloth, cotton or polyester
THE PROCESS
(if you dont have a blender/mixer)
take out the seed/stone and put the riped avo flesh in a alloy/steel container.
press and mash using the back of the spoon until all turned smooth
spread the smooth mashed avo and make the layer as thin as you can.
add more plates if you wish to
put under the hot sun until they turned dark.
i left this 3 plates from morning till the evening in a day.

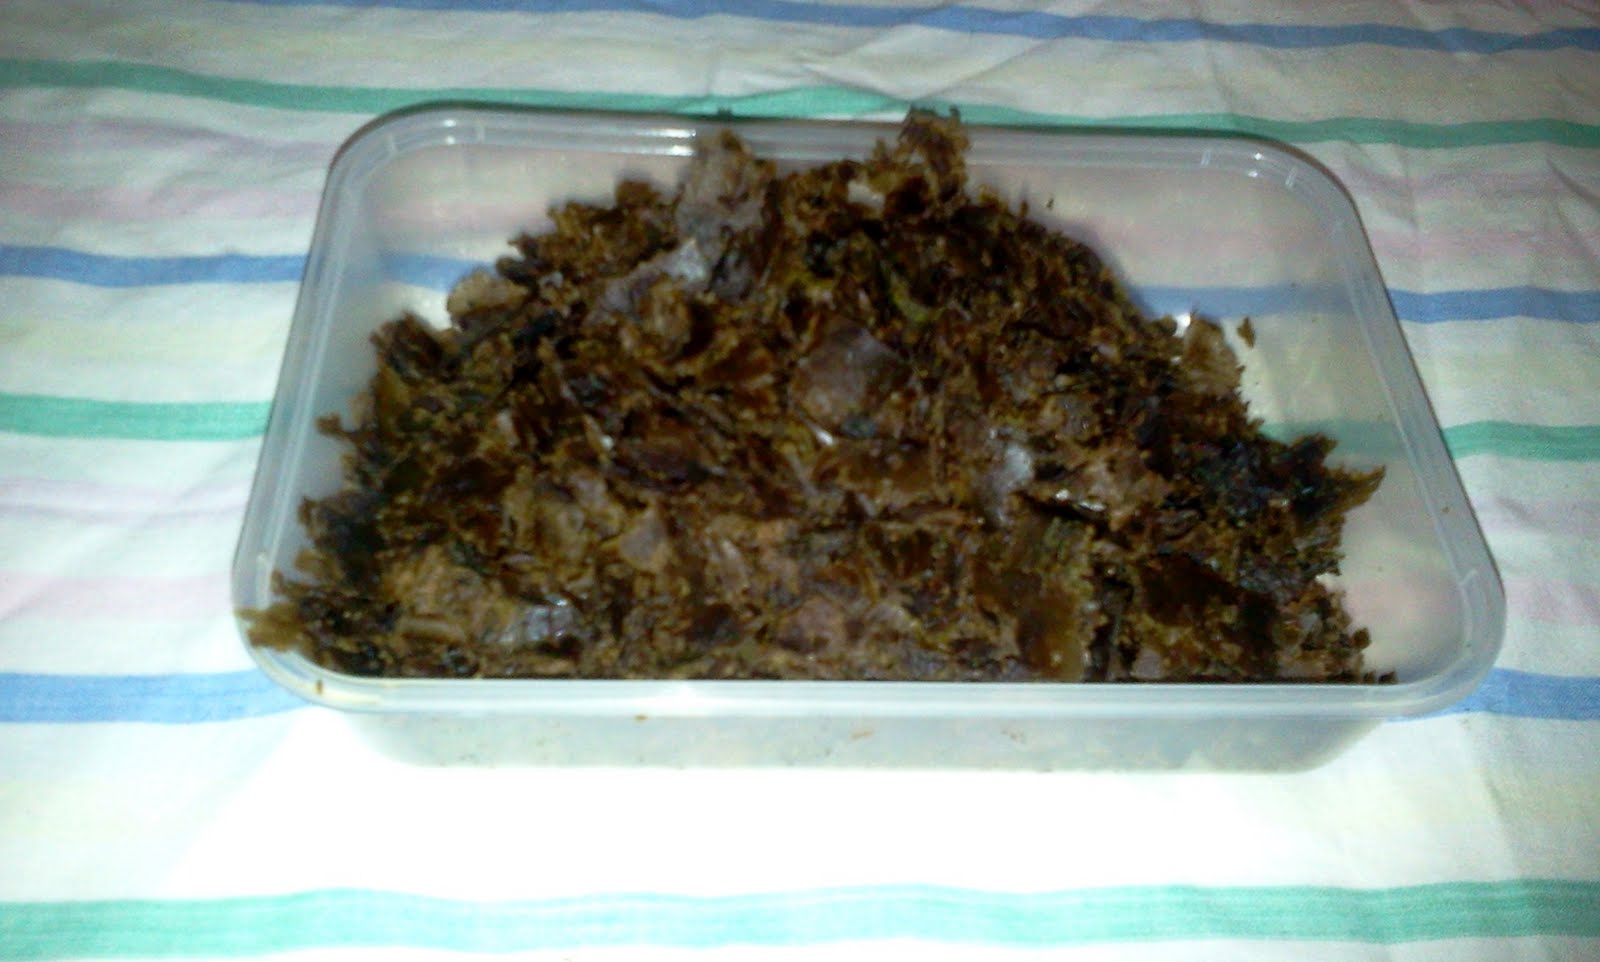
scrap it out using a plastic spoon. it looks like copra

put all in a container

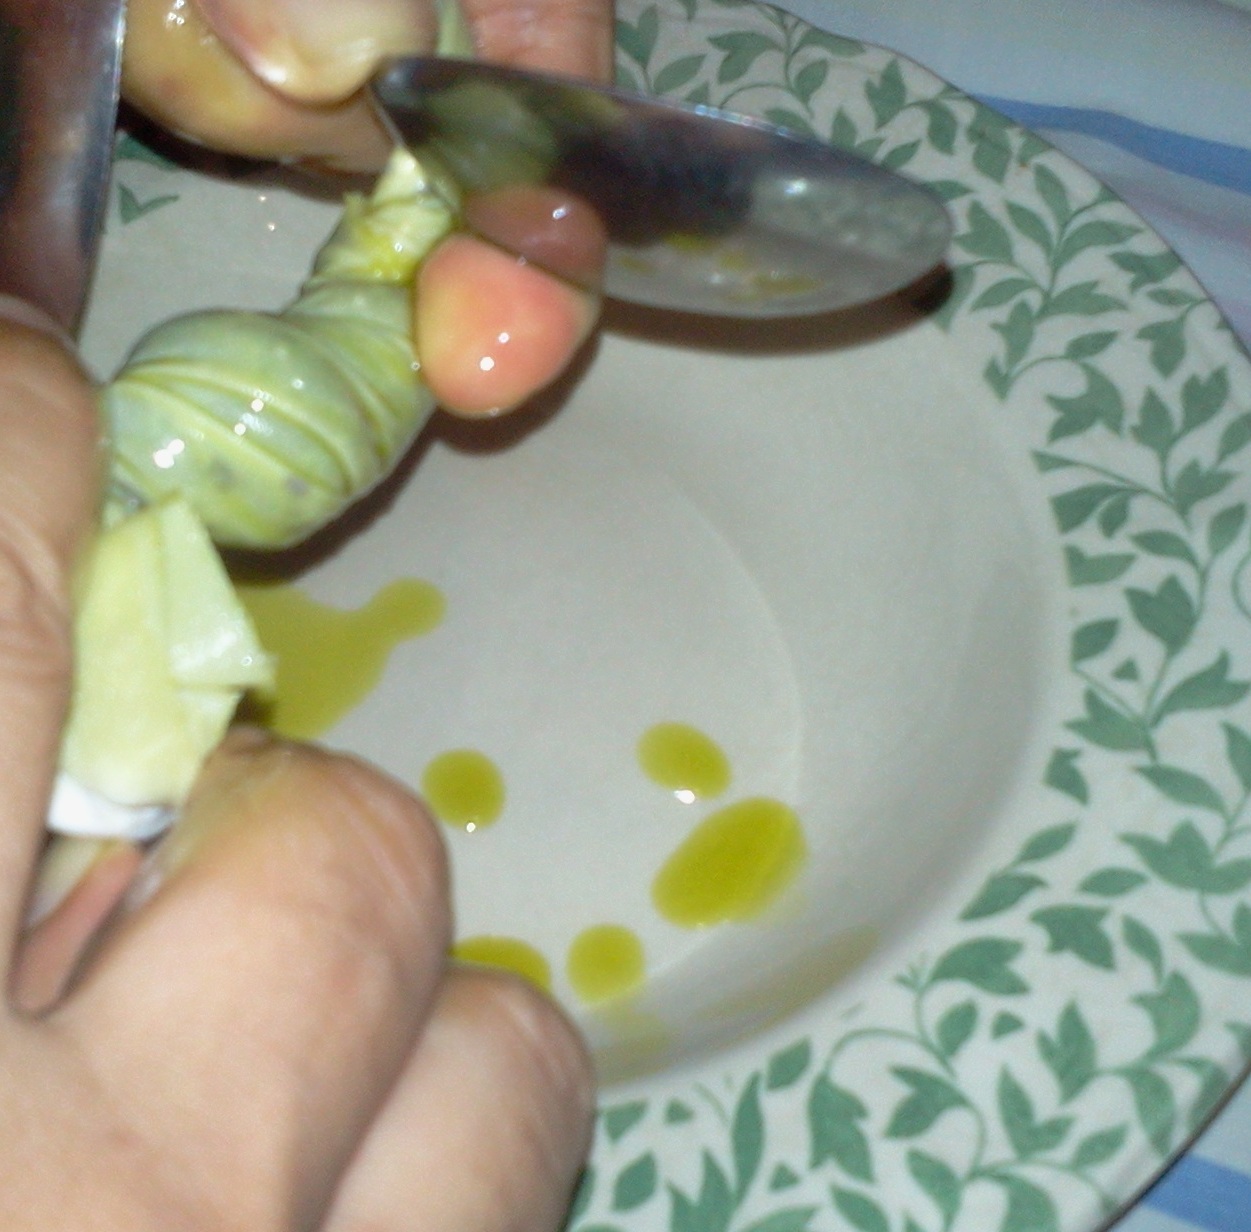
put a small portion (1 table spoon) on the cloth and spread them

and roll the cloth like shown above

take the 2 spoon and tie the end of each cloth like shown above
twist and squeeze as hard as you can. strong fingers are better and weak ones ;p
from 4 avocados. uncooked and vitamins preserved.
look at the color! green and smells nice with no burning smell! real, genuine and pure avo oil
i like to keep empty perfumes bottles. see? i got 2 bottles of 10ml avo oil and a bottle of 5ml avo. 


your dont have to have a special machine to extract/expel avocado oil. everything can be done at home.

4 avocados can produce 50-55 ml pure, cold pressed avocado oil. i am going to make the small bottle as my eye night cream coz it has roller ball. for my facial moisturizer, the10ml (bigger bottle) is enough for a  month supply. this means my supply is enough for 2 months, since i have 2 bottles of 10 ml avo oil. cheap, easy and halal! i just love this outcome :)

just imagine if you have an avo tree which produces uncountable of avo fruits! how i wished i have an avocado orchard....

anyway, happy trying and good luck :)

Saturday, July 30, 2011

How To Make Fried Sambal Belacan

Salam & hi to all,

want to know how i did my fried sambal belacan?

from the right (anti clock wise) cili melaka (they are smaller but 200% hotter than normal sized chillies), prawn  paste (here we called it belacan), tomatoes, red chillies, anchovies (i checked the ikan bilis translation is anchovies) and 1 large onion
put everything in a frying pan, put some oil and fry them in slow fire (3-5 minutes).
no need to take out the chillies stalks,
they help to reduce the burning hot sensation on your tongue. its a tips actually.
no salt and vinegar required  as the anchovies is naturally salty and those tomatoes are sourish.
then put everything in a mixer and blend them until smooth
then put in a frying pan, and fry until you can see the oil surfaces.
ready! you can serve just like that. you can dip your cracker in it too! yummy ;)
or you can serve for nasi lemak, simply delicious!

happy trying & good luck!

Monday, June 27, 2011

Civet Cat Kitties & Kitties

Salam & hi to all....

i know they looked adorable...in fact they are :)

6 of my 3 weeks kitties and 3 of my 1 month civet kitties, all told, 9 'tails' (these photos were taken a week ago)


how could this be wrong? this is called the unconditional love....

i just wonder...can they mate once they grew older?

Wednesday, June 22, 2011

How To Make Spreadable Cream Cheese

In the name of Allah Most Gracious Most Merciful
  
Salam & hi to all,


my favorite olive spreadable butter was finished last week and i was so lazy to do my groceries. its not saturday yet!


got to think of its substitute. yes! its going to be a creamy, spreadable cream cheese!
here is how i did it.


remember the 'how to make yogurt' post? so, i used the yogurt i made.
you will notice there is water surfacing the yogurt. throw the excess water if exists.
put approximately 100-150 gram into a flat saucer.  if the saucer is big, then put more.
the idea is to get a thin layer of  yogurt.
like this. put in the refrigerator (not at the freezer compartment)
for few days (a week will do). 
the layer thickens but not so hard.
as you can see in the picture, it looks soft and spreadable.
see what i mean? 
its nice to eat it with a sweetened chocolate bread and a cup of hot coffee (with milk please ;P )
just imagine if you  were to have this during your tea time
and outside your window, you can see the heavy rains pour..hmmm
the taste? if you dont mind the sourish taste from the yogurt, then this kind of spreadable cream cheese suits your choice. some prefer a sweetened spreadable cheese, some just like it plain. 


well, all the best and good luck!


NOTE : if the spreadable cream cheese is very salty, you can add some sweetened condensed milk. mix it with the creamcheese and stir. actually it tastes better and yummier :)

Tuesday, June 14, 2011

D.i.Y - How To Use A Flexible PVC Hose To Replace The Straight PVC pipe

Salam & hi,

this morning, i thought my water supply was cut by the water local authority here. i have paid this month bill so what was the matter? no water for shower! i suppose to be very angry, but Alhamdulillah, managed to control my temper. want to know why? somebody has stepped on my main pvc water pipe, and just look at the picture below, its broken!! my maid accused my son of doing it, my son denied, and accused her instead and dadadada...i dont want to know who is lying...my main concern, this need to be fixed. as what i posted in my FB, fault finding is wasteful. so, lets see how i fixed it. 

the 'victim'. that is the main water inlet pipe.
look at the red line pipe. the water inlet came from inside of my house,
going out through the usage meter .
the blue line of pipe is for the house water usage. the parts involved was the red line pipe.
pls ignore the yellow line. 
my fixing work started with the point of the red arrow
taken out the defected parts. how artistic!
 i cant recall who was the previous contractor
but this crooked pipe connection is unacceptably & unprofessionally done!
i used this to replace it, a flexible pvc hose. not as flexible like a rubber hose
and not so hard as the normal hollow straight pvc pipe. this is just nice for me. 
i used a pair of tightener/lock (black color) for the flexible hose pipe
3 sockets (sized half inches) and L joint socket (some call it elbow)
check the tightener. it must consist of 4 parts,
the rubber and the white thing are very important. 
apply all socket with white tape as shown in the pic
new stop-cock, to replace the old one which has pvc broken pipe stucked inside
THE WORKS
PART A - CHANGING THE WATER INLET PIPE
take out the old stop-cock.
replace it with  the new one. look at the water.
you can imagine how strong my house water pressure is

since that the new stop-cock is working, turn off the tap.
now put on the socket to connect the stopcock and the L socket
test it. its working. turn off the tap
now, measure the right length to be used.
cut the flexible pvc hose with a small saw
this is how they should be arranged. very important- the position of the rubber bend.
insert and push it inside. this is to block the water from coming out. there shouldnt be any space
else you will have a hard time with the water spurs out from the connection made.
(that was what happened to me)
see? the rubber bend just nicely fitted in togetherwith the first edge of the flexible pvc hose
then use the plastic white part to push the rubber inside and tighten all parts
this is how it should looked like

PART B - MAKING THE JOINT PIPE TO THE METER

put the socket as shown in the picture
(pls refer to the red arrow from previous photo)
the same thing, make sure the rubber bend is inserted tightly
and nicely inside the front receiver. make sure the 2nd edge for the same hose goes deep inside (maximum) and tighten them all
this is how it should looked like
look at the red lines...that is where the flexible pvc lies. less items used.
turn on the stop-cock tap. WALLA! it worked. you can see the meter pressure readings. its functioning.
i have spent approximately 3 hours doing this fixing works. it is because i was confused on the arrangement of the black tightener, which comes first? the rubber or the white plastic thing, and notice the white plastic, the circular one should face the tightener or vice versa? got blister on my palm doing the tightening and re-open the whole thing, just to get things right. went through this torturous trial & error with the item and after getting myself wet, and hungry (no appetite/couldnt enjoy any food if in the midst of DIY works) at my 'car porch turned to a mini garden', this experience really a worthwhile one. i learned something new and i need to share this with others.

ALhamdulillah, i am satisfied with the work done, and we got our water supply as soon as the pipe was fixed. everybody is happy, especially my maid ;)